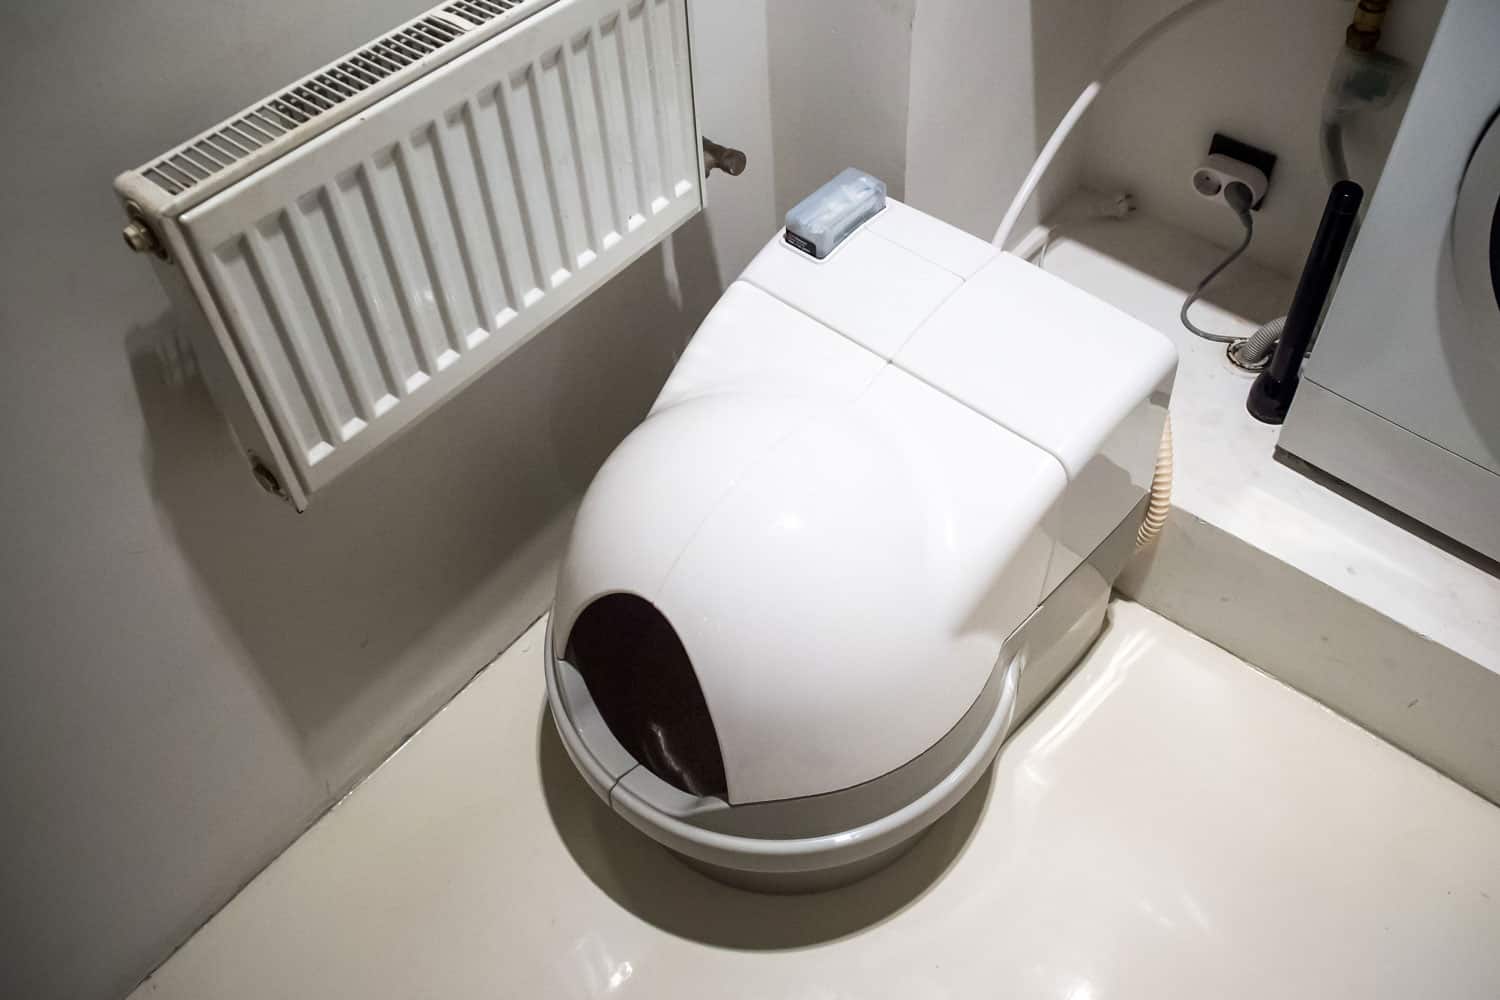
In the world of pet ownership, the cat litter robot has emerged as a game-changer.
This innovative device automates the often unpleasant task of cleaning the litter box, making life considerably more comfortable for cat owners.
It's designed to keep your cat's litter box clean without requiring constant attention, enhancing both hygiene and convenience.
However, as with any technology, it's not uncommon to encounter some issues.
One problem that you might be facing is that your cat litter robot has stopped cycling, thereby hindering its ability to keep the litter box clean. If that's the case, don't worry - we've got you covered.
This article will delve into why your cat litter robot might not be cycling and guide you through the steps to troubleshoot and resolve the issue.
Let's get your device back on track and ensure a clean and comfortable environment for your feline friend.
Common Reasons Why a Cat Litter Robot Might Not Cycle
The 'cycling process' in a cat litter robot refers to the automatic cleaning mechanism separating waste from clean litter.
This process is crucial as it ensures that the litter box stays clean, promoting the health and happiness of your feline friend.
When the robot is not cycling, it can lead to a dirty and potentially unhealthy environment for your cat.
Several issues might cause your cat litter robot to stop cycling. Let's explore some of the most common ones:
Sensor Issues
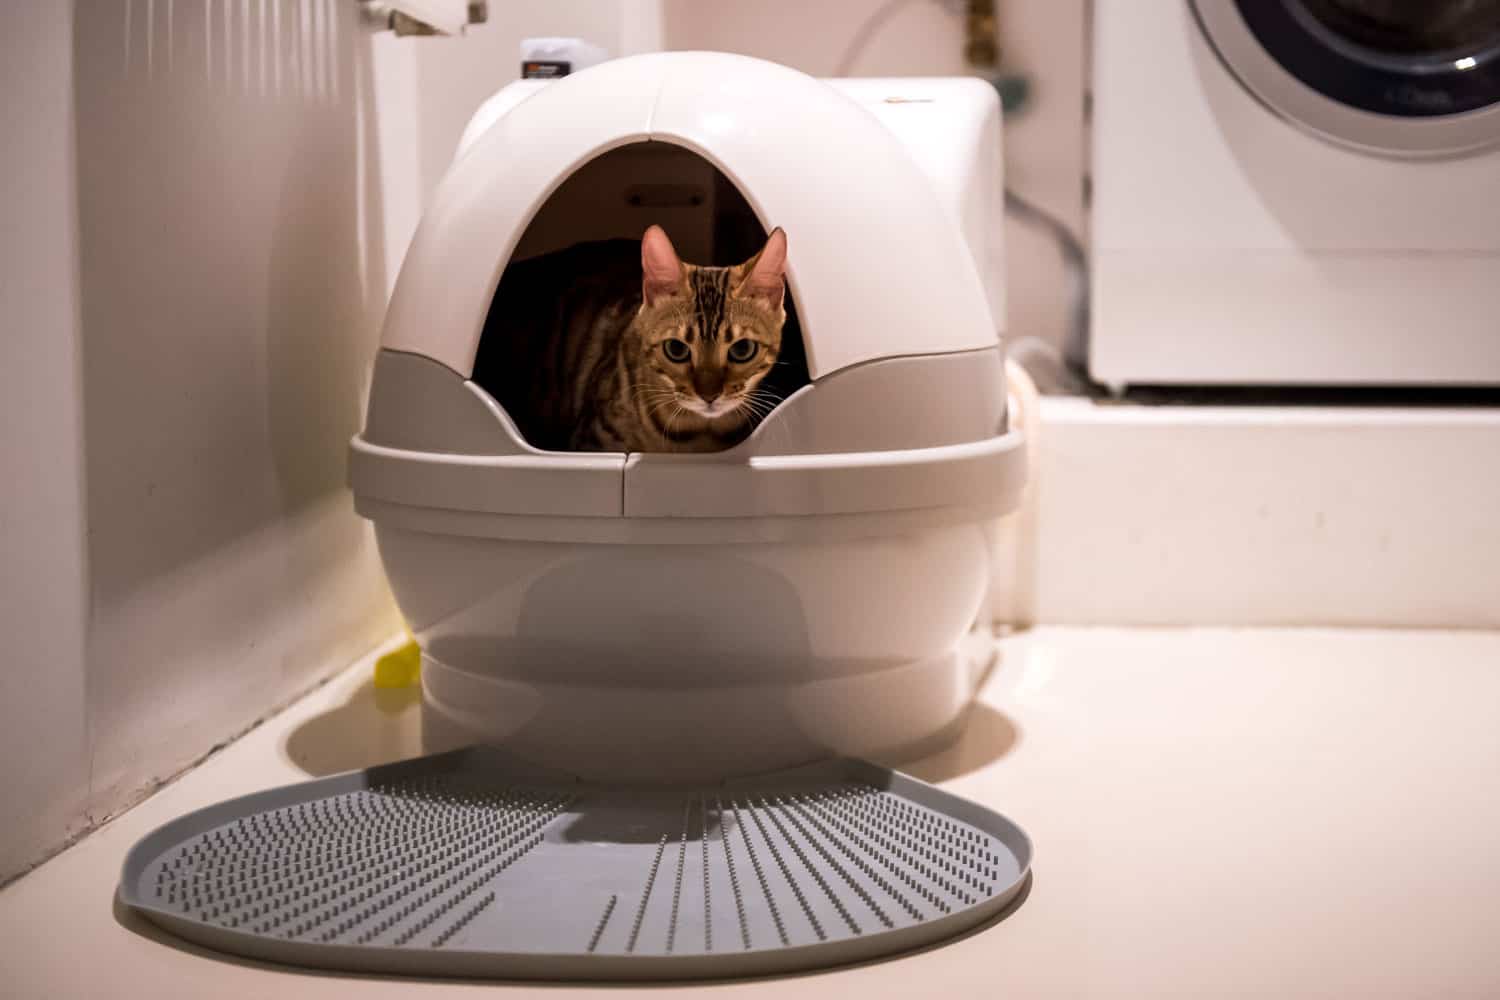
The cat litter robot relies heavily on sensors to function properly.

Click here to see this cat litter robot on Amazon.
These sensors detect when your cat has used the litter box and trigger the cleaning cycle. Unfortunately, they can sometimes run into problems.
For instance, clumps of litter or dust can obstruct the sensors, preventing them from detecting when your cat has used the box.
In other cases, the sensors might malfunction due to wear and tear or electronic issues. Both scenarios can lead to the robot not initiating the cleaning cycle.
Power Supply Problems
Your cat litter robot requires a steady and reliable power supply to function.
If there's an interruption in this supply, the robot may not cycle.
This can be due to various issues, such as a faulty outlet, a damaged power cord, or even a power outage in your home.
Additionally, if the adapter that connects the robot to the power source malfunctions, the robot may not receive the power it needs to operate.
Mechanical Failures
Like any mechanical device, the cat litter robot has a number of moving parts that are essential for its operation.
Over time, these parts can wear out or break, leading to mechanical failures.
For example, if the motor that drives the cycling process burns out or breaks down, the robot won't be able to cycle.
Similarly, if any gears or other moving parts that facilitate the cycling process become damaged, they can prevent the robot from functioning as it should.
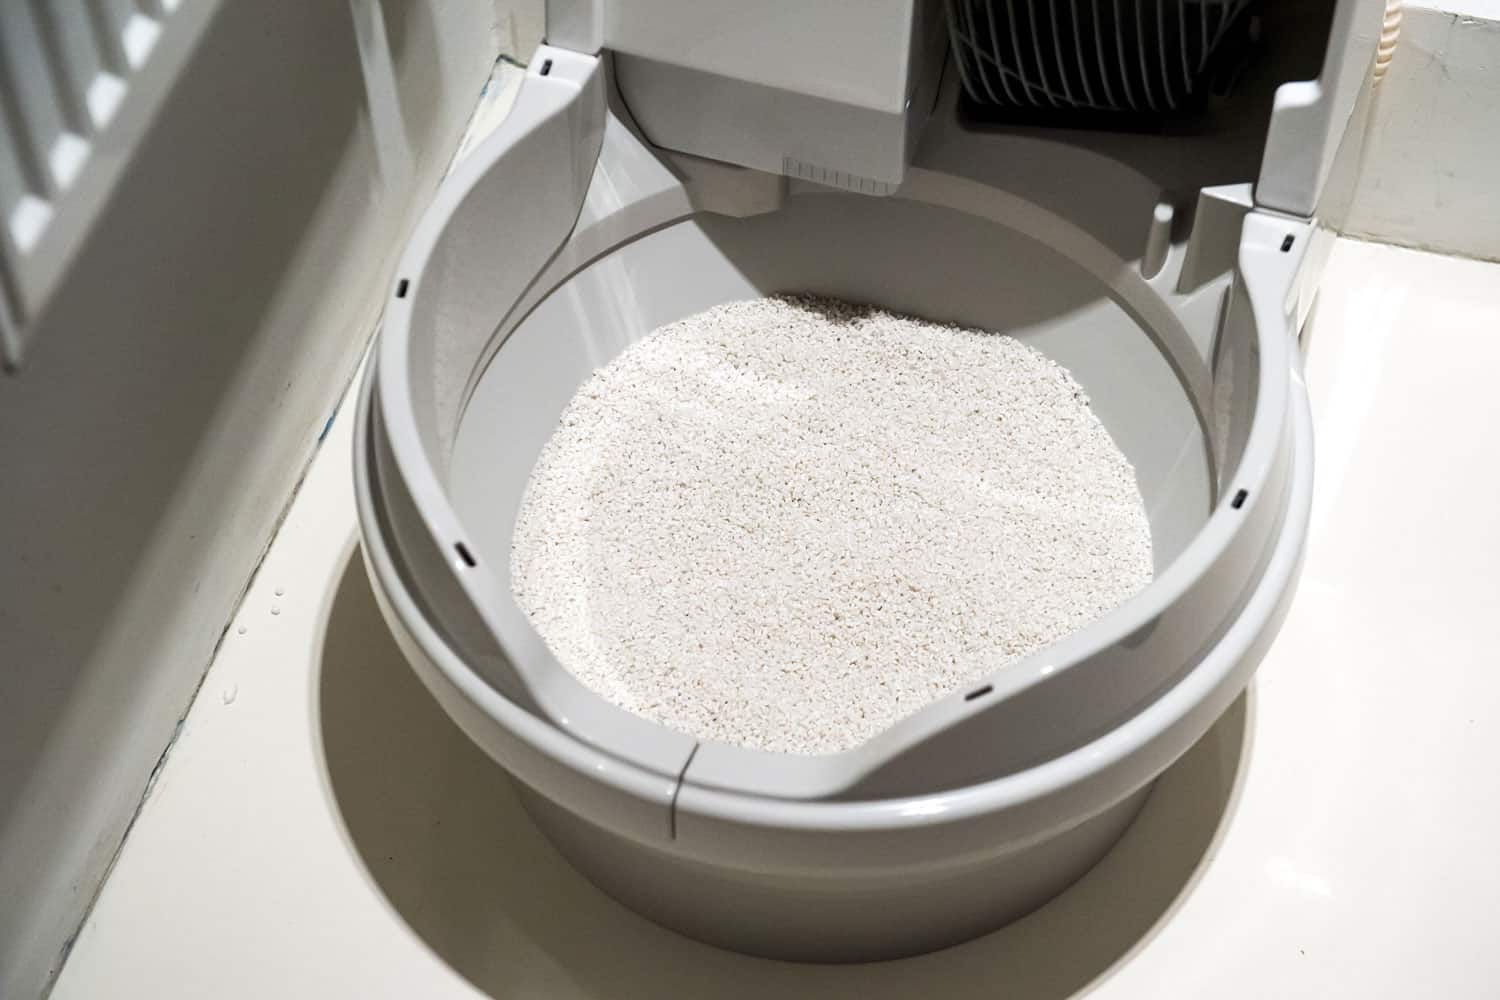
Overfilling of Waste Drawer
The waste drawer in your cat litter robot is designed to hold a certain amount of waste.
If this drawer becomes overfilled, it can interfere with the cycling process.
When the drawer is too full, the robot may not have enough space to separate the waste from the clean litter, or the additional weight might strain the motor.
This can cause the robot to stop cycling until the drawer is emptied and cleaned.
Troubleshooting Steps
If your cat litter robot is not cycling, here are some detailed steps you can take to address and hopefully resolve the problem:
Checking and Cleaning Sensors
1. Unplug the robot to ensure safety during cleaning.
2. Refer to your user manual to find the exact location of the sensors on your specific model of the cat litter robot.
Typically, these sensors are found in the interior part of the robot.
3. Using a soft, lint-free cloth, gently clean each sensor. Be careful to avoid using harsh chemicals or excessive force, which could damage the sensor.

Click here to see this lint-free cloth on Amazon.
4. After cleaning, reconnect the robot to the power supply. Initiate a manual cycle to see if the cleaning has resolved the issue.
Checking the Power Supply
1. Unplug the robot from its current outlet.
Try plugging it into a different outlet you know is functional (you can test the outlet with another device, such as a lamp, to be sure).
This can help you determine if the issue lies with the outlet rather than the robot.
2. Inspect the power cord for any visible damage, such as fraying or cuts. If you find any, you'll need to replace the cord.
Make sure to order a replacement from the manufacturer or an authorized dealer to ensure it's compatible with your robot.
3. Once the robot is plugged into a working outlet with a non-damaged cord, initiate a manual cycle to check if the robot is now functioning correctly.
Examining for Mechanical Failures
1. Run the cat litter robot and pay close attention to the sounds it makes.
Unusual noises, like grinding or whirring, could indicate a mechanical issue, such as a problem with the motor.
2. If you notice unusual noises or see visible signs of damage, don't attempt to repair it yourself.
Instead, reach out to the manufacturer's customer service or professional repair service.
They can guide you on the next steps, which may include professional repair or replacement of the unit.
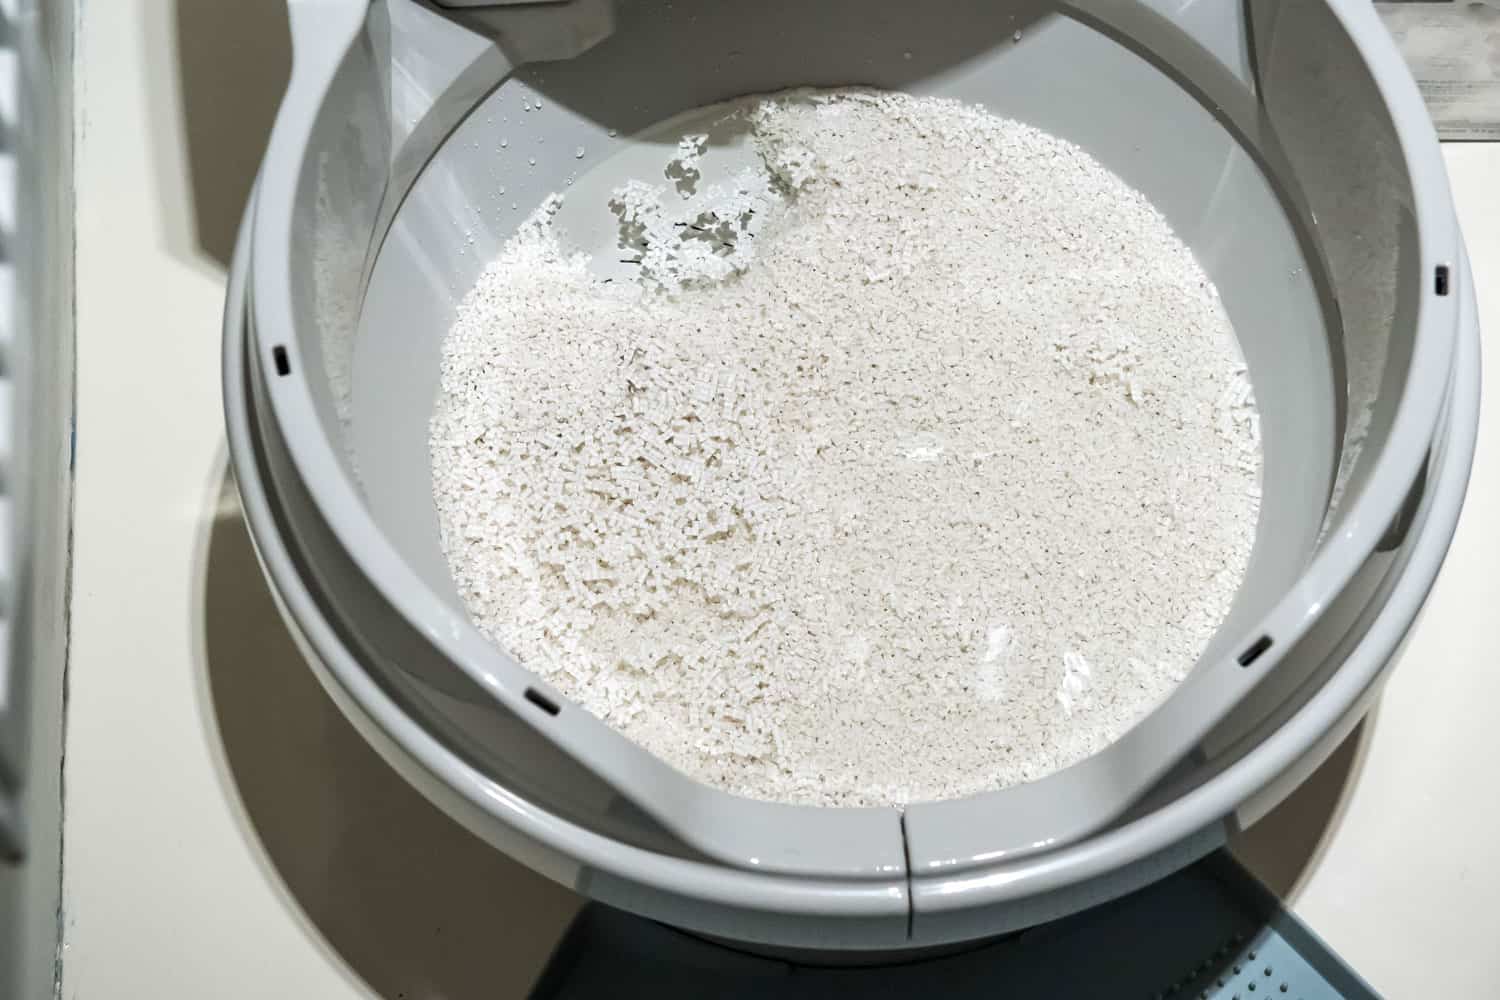
Emptying and Cleaning the Waste Drawer
1. Before handling the waste drawer, always unplug the robot for safety reasons.
2. Carefully remove the waste drawer from the robot. Most models have a drawer that slides out easily.
3. Empty the waste from the drawer into a suitable waste bin. Once empty, clean the drawer with a damp cloth.

Click here to see this cloth on Amazon.
Avoid using harsh chemicals that might leave a residual smell that could deter your cat from using the robot.
4. After cleaning, ensure the drawer is thoroughly dry before sliding it back into the robot. Any moisture could clump the litter or potentially damage the robot.
5. Reconnect the robot to the power supply and initiate a manual cycle to see if the cleaning and emptying process has resolved the issue.
By meticulously following these troubleshooting steps, you should be able to identify and solve the common issues that prevent your cat litter robot from cycling.
If the problem persists, it's time to get in touch with the manufacturer for more specialized assistance.
Maximizing Your Litter Robot's Efficiency
In essence, while troubleshooting can address issues with a non-cycling cat litter robot, the key lies in regular preventive maintenance.
Simple actions like cleaning the sensors, ensuring a stable power connection, managing waste disposal, and using appropriate litter can significantly enhance the robot's performance.
Such practices not only keep your robot running smoothly but also extend its lifespan, ensuring a clean, odor-free environment for you and your feline friend.
So, remember to give your robot the care it deserves, and it will continue to simplify your life, just as it was designed to do.
After all, every moment saved from litter box maintenance is another moment to enjoy the delightful company of your cat!
For additional reading, please explore our articles below.